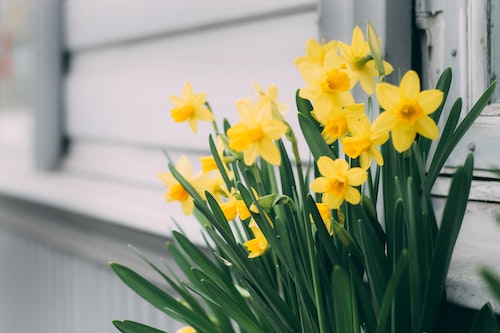
March is hectic, and it is hard not to get too excited about seed planting. In milder parts of the UK, the soil is starting to warm up for outdoor planting, but we must still be cautious of the cold frosty snaps. I have lost many a seedling due to sowing too soon. Nothing makes me happy than seeing the first signs of March with the nodding daffodils and living in Wales, celebrating St David’s Day on March 1st. You can start some things off indoors on a windowsill or greenhouse, including:


* Top tip Put cucumbers on a dry paper towel, fold and soak in water, place in a glass, cover tightly with cellophane and put on the windowsill. After 4 days, they will germinate and be ready to plant.
March Jobs
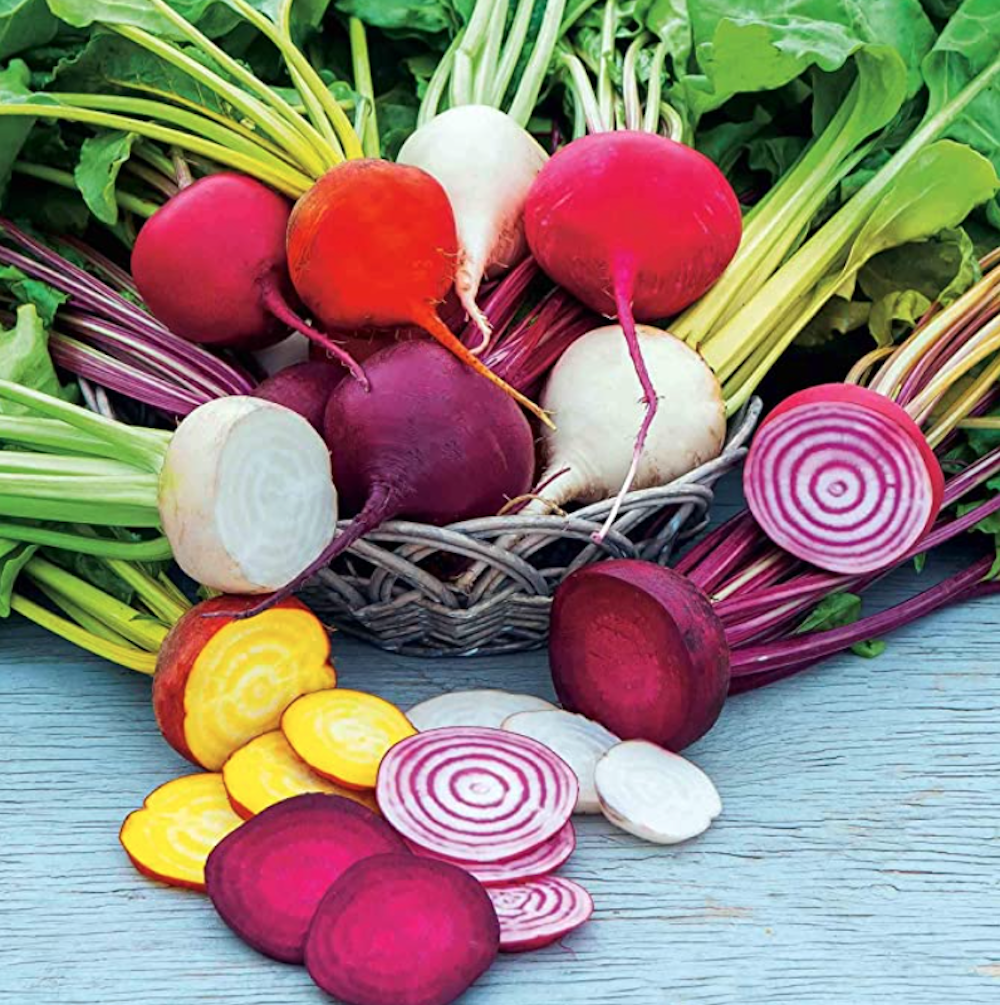
- Beetroot – Sow in direct shallow rows and cover with a fine layer of soil/compost or start them off early in a seed tray for transplanting later in the month. They are best harvested as golf ball-sized beets. Colourful varieties include Rainbow Mix & Boltardy, great for pickling.
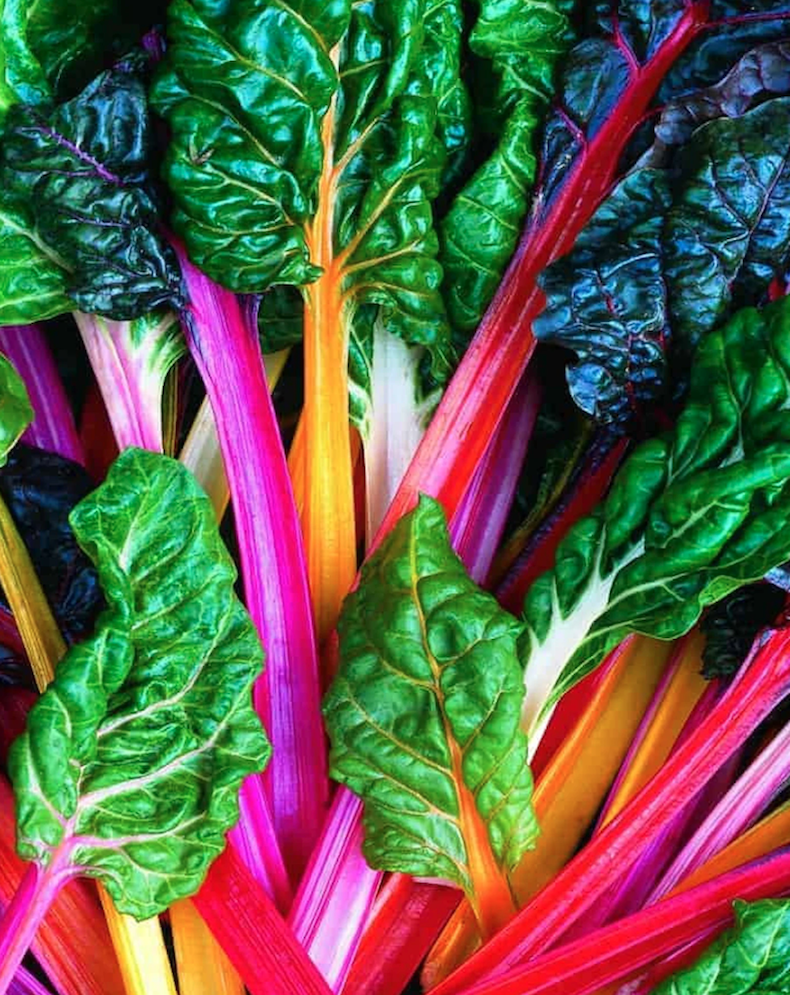
- Swish Chard is a colourful container plant; sow directly into filled containers or pots covered with 2cms of compost. It can be picked as baby leaves regularly for salad or left for larger leaves to steam, like spinach. Beautiful red steam varieties Fire Fresh of Rainbow lights.
- Spinach is an excellent iron source and easy to grow directly into a container or start in pots first. After the first true leaves have developed, they can be plated out. Perfect for scattering on children’s pizzas and wraps. Varieties include Perpetual, Mikado, and Apollo
- Early Peas can be sown in trenches 15 cm wide and 3-5cm deep; smaller areas can be planted in blocks or into deep containers and successional sown through to June. Some dwarf varieties are self-supporting, or you could use twigs, netting or twine with a wigwam. Please ensure the structure is solid, or the wind can whip it away. Peas can be harvested between May and August; take the pods from the bottom of the plant first. The early variety includes Avola, Early Onward, Kelvedon Wonder, and Meteor.
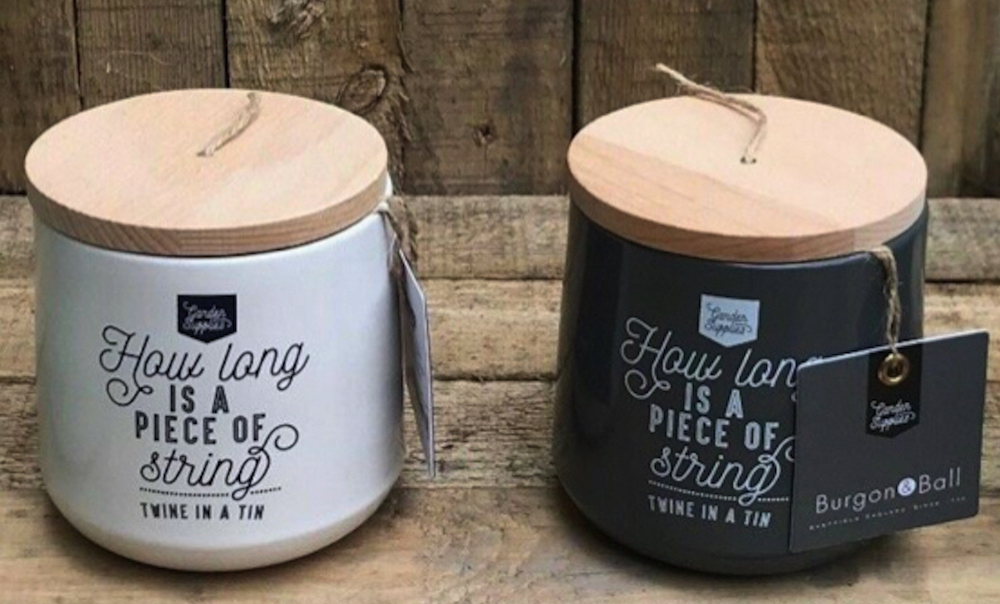
* Top tip Mangetout and Sugarsnap varieties are easy to grow. Visit My Shop for the best twine to support your peas.
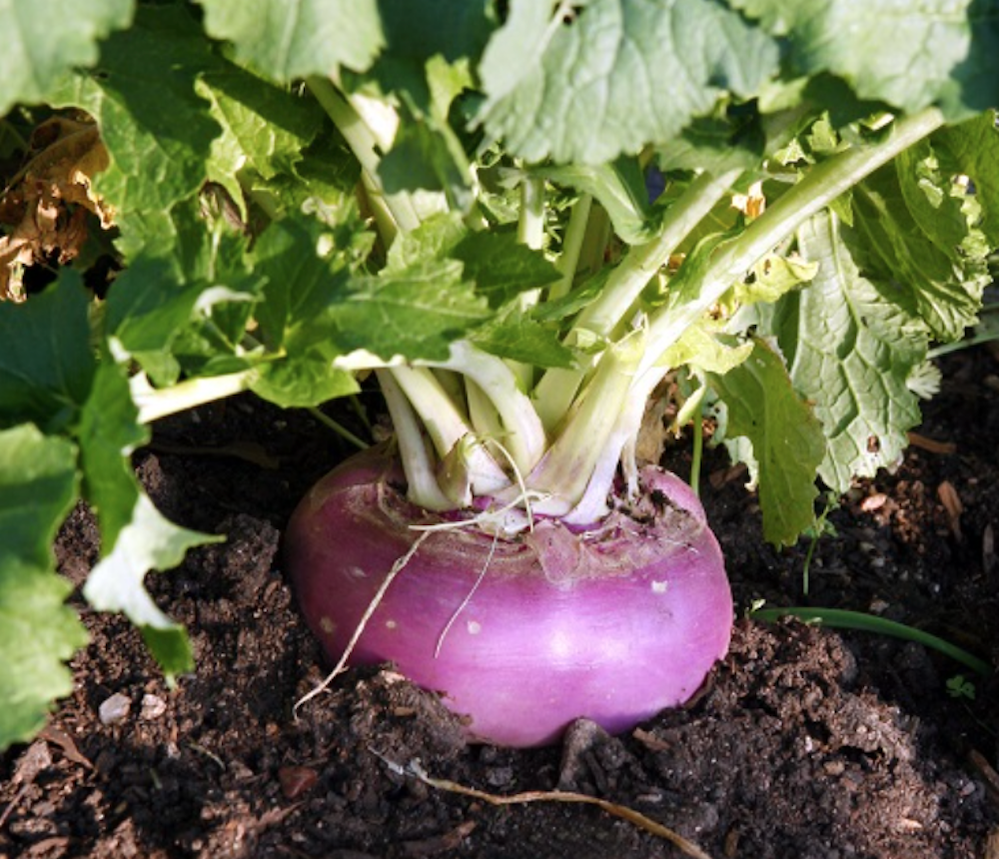
- Turnips can be sown directly out after frosts, ideally, in rows 30cm apart to provide an early crop, or you could plant in 12-inch-deep pots for harvesting when small, as baby veg. They need 5-6 hours of direct sunlight, and be careful with the watering. Milan Purple Top gives beautiful purple roots and edible leaves.
- Indoor Herbs: Basil, Rosemary, Sage, Thyme, OreganoPerfect for culinary flavour and easy to grab from the kitchen, now is the ideal time to start some sweet basil, thyme or parsley in little pots on a south-facing windowsill for maximum light. An east or west-facing windowsill will also give enough light. Be careful not to drown indoor herbs, just a little at a time. Varieties include Sweet Green Basil, Old English Thyme, and Flat Leaved Parsley.
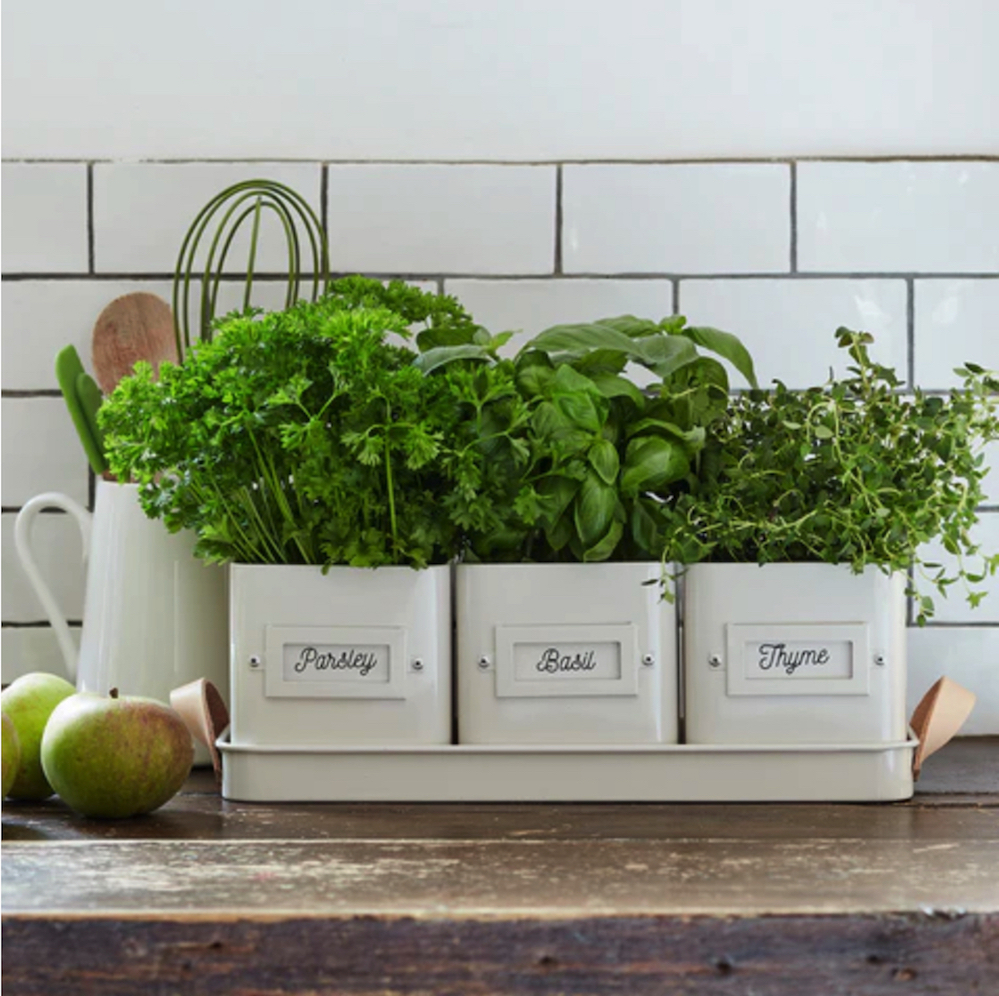
* Top tip To have herbs readily available for your cooking delights, this perfect indoor herb pot planter is ideal and adds a touch of elegance to any kitchen. Visit My Shop or click on the picture for the different coloured exquisite herb planters – a perfect gift for Mother’s Day.
- Onion, Shallot and Garlic sets can all be planted directly into the soil after the risk of frost has passed. Varieties include Sturon, Stuttgarter, Red Sun Shallots, Garlic ‘Cledor’ Flavor, Picardy Wight.
World of Microgreens
-
Health Benefits: Nutrients, Vitamins, Minerals and Antioxidants.
-
Use: As a salad garnish, as a side dish, adding flavour to dishes, or adding to juices or smoothies for nutritional value.
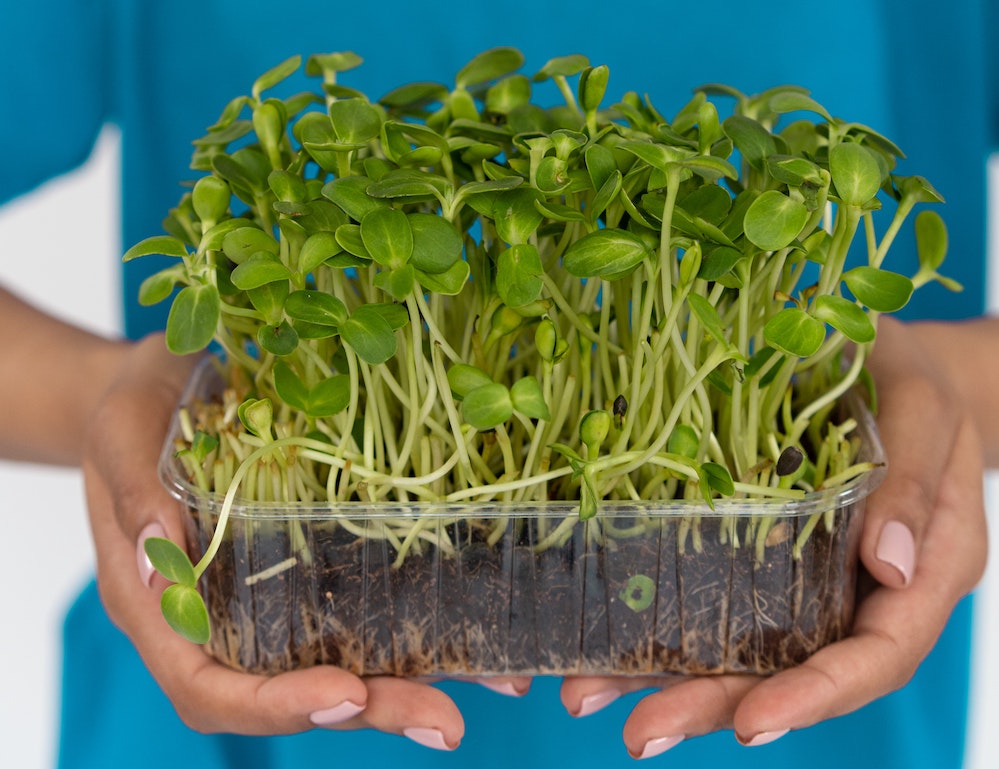
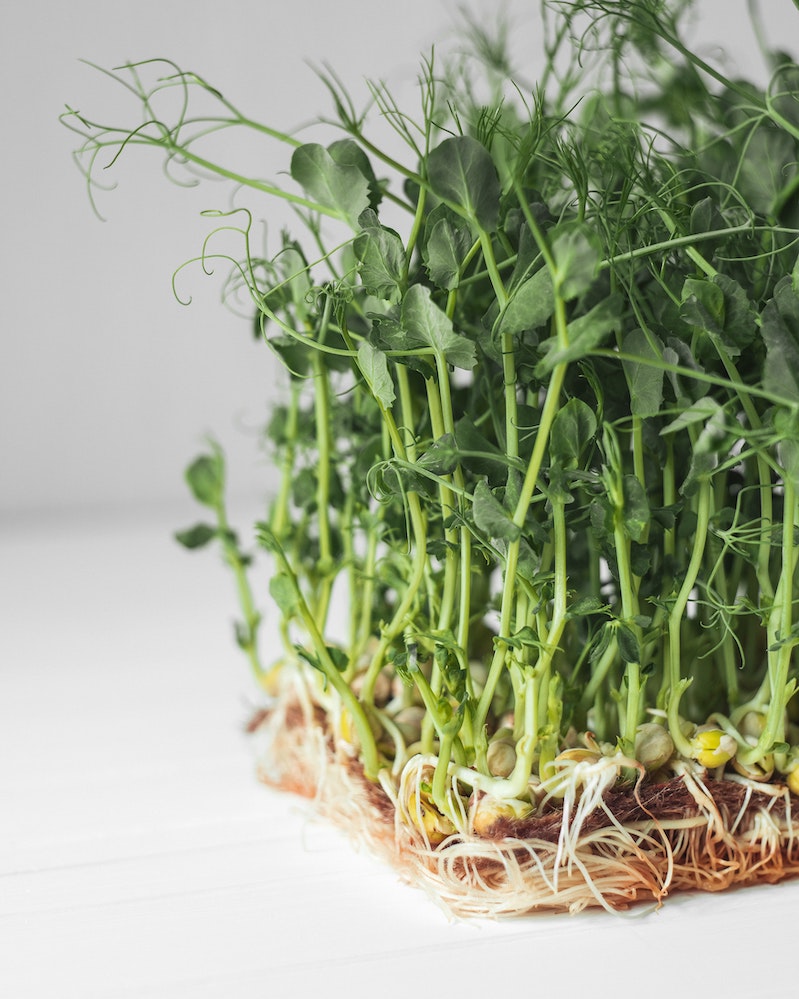
Microgreens are young herbs or vegetables full of flavour and are quickly grown on a small scale and can thrive indoors if sunlight is available. They are ready to harvest in 2–3 weeks and should be above the soil line; rinse them well before using them. Popular varieties include:

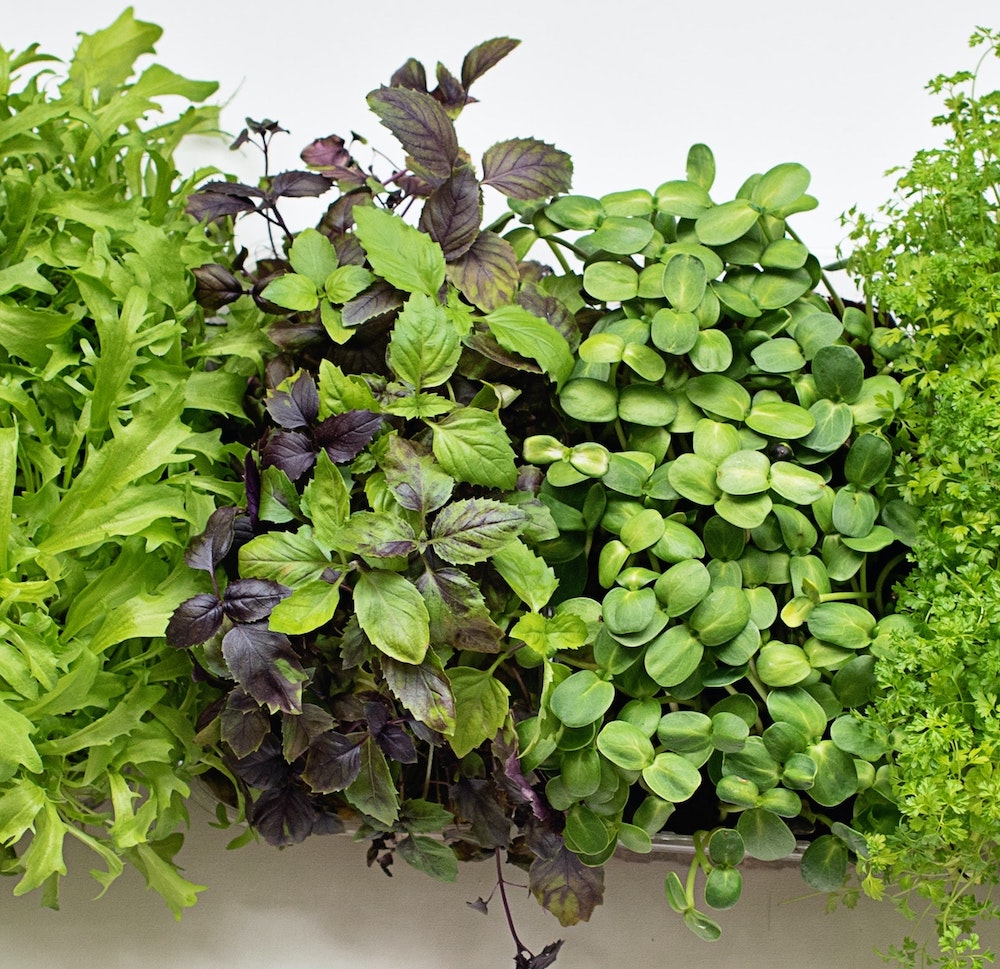
Why not give it a go?
You don’t need special equipment to grow microgreens.
- Use a Tupperware box or plastic carton for a plastic tray.
- Put a layer of kitchen roll in the base and make it moist, not wet.
- Sprinkle the seeds over the surface and keep them moist as above.
- Or, in shallow seed trays filled with fine, moist potting compost, sow the seeds over the surface. Sprinkle with a fine layer of compost and keep moist.
- Use scissors to harvest when the plants are around 5cm high.
- Sow a few seeds every 10 days for a continuous crop.

